How to Leverage Pinterest as an Influencer for Maximum Discovery
Oh, hey friend! I’m glad you’re here. And I have a secret to tell you.
Influencers are not utilizing Pinterest enough! And they need to be for maximum exposure.
But you already know that because that’s why you’re here.
In today’s blog post, I’m going over some basics on how to start using Pinterest as an influencer. You’ll learn how to set up your Pinterest account, how to optimize your profile as an influencer, and you’ll learn some best practices when uploading your Pins for maximum discovery.
I’m sprinkling in a lot of personal tips and advice throughout this post, so be sure to grab your free checklist at the bottom of the page so you can quickly knock out all these steps.
And don’t forget to follow me on Pinterest to stay in touch. :)
How to set up your Pinterest account as an Influencer
When setting up your Pinterest account, keep the following three things in mind.
Use the same username across all your platforms.
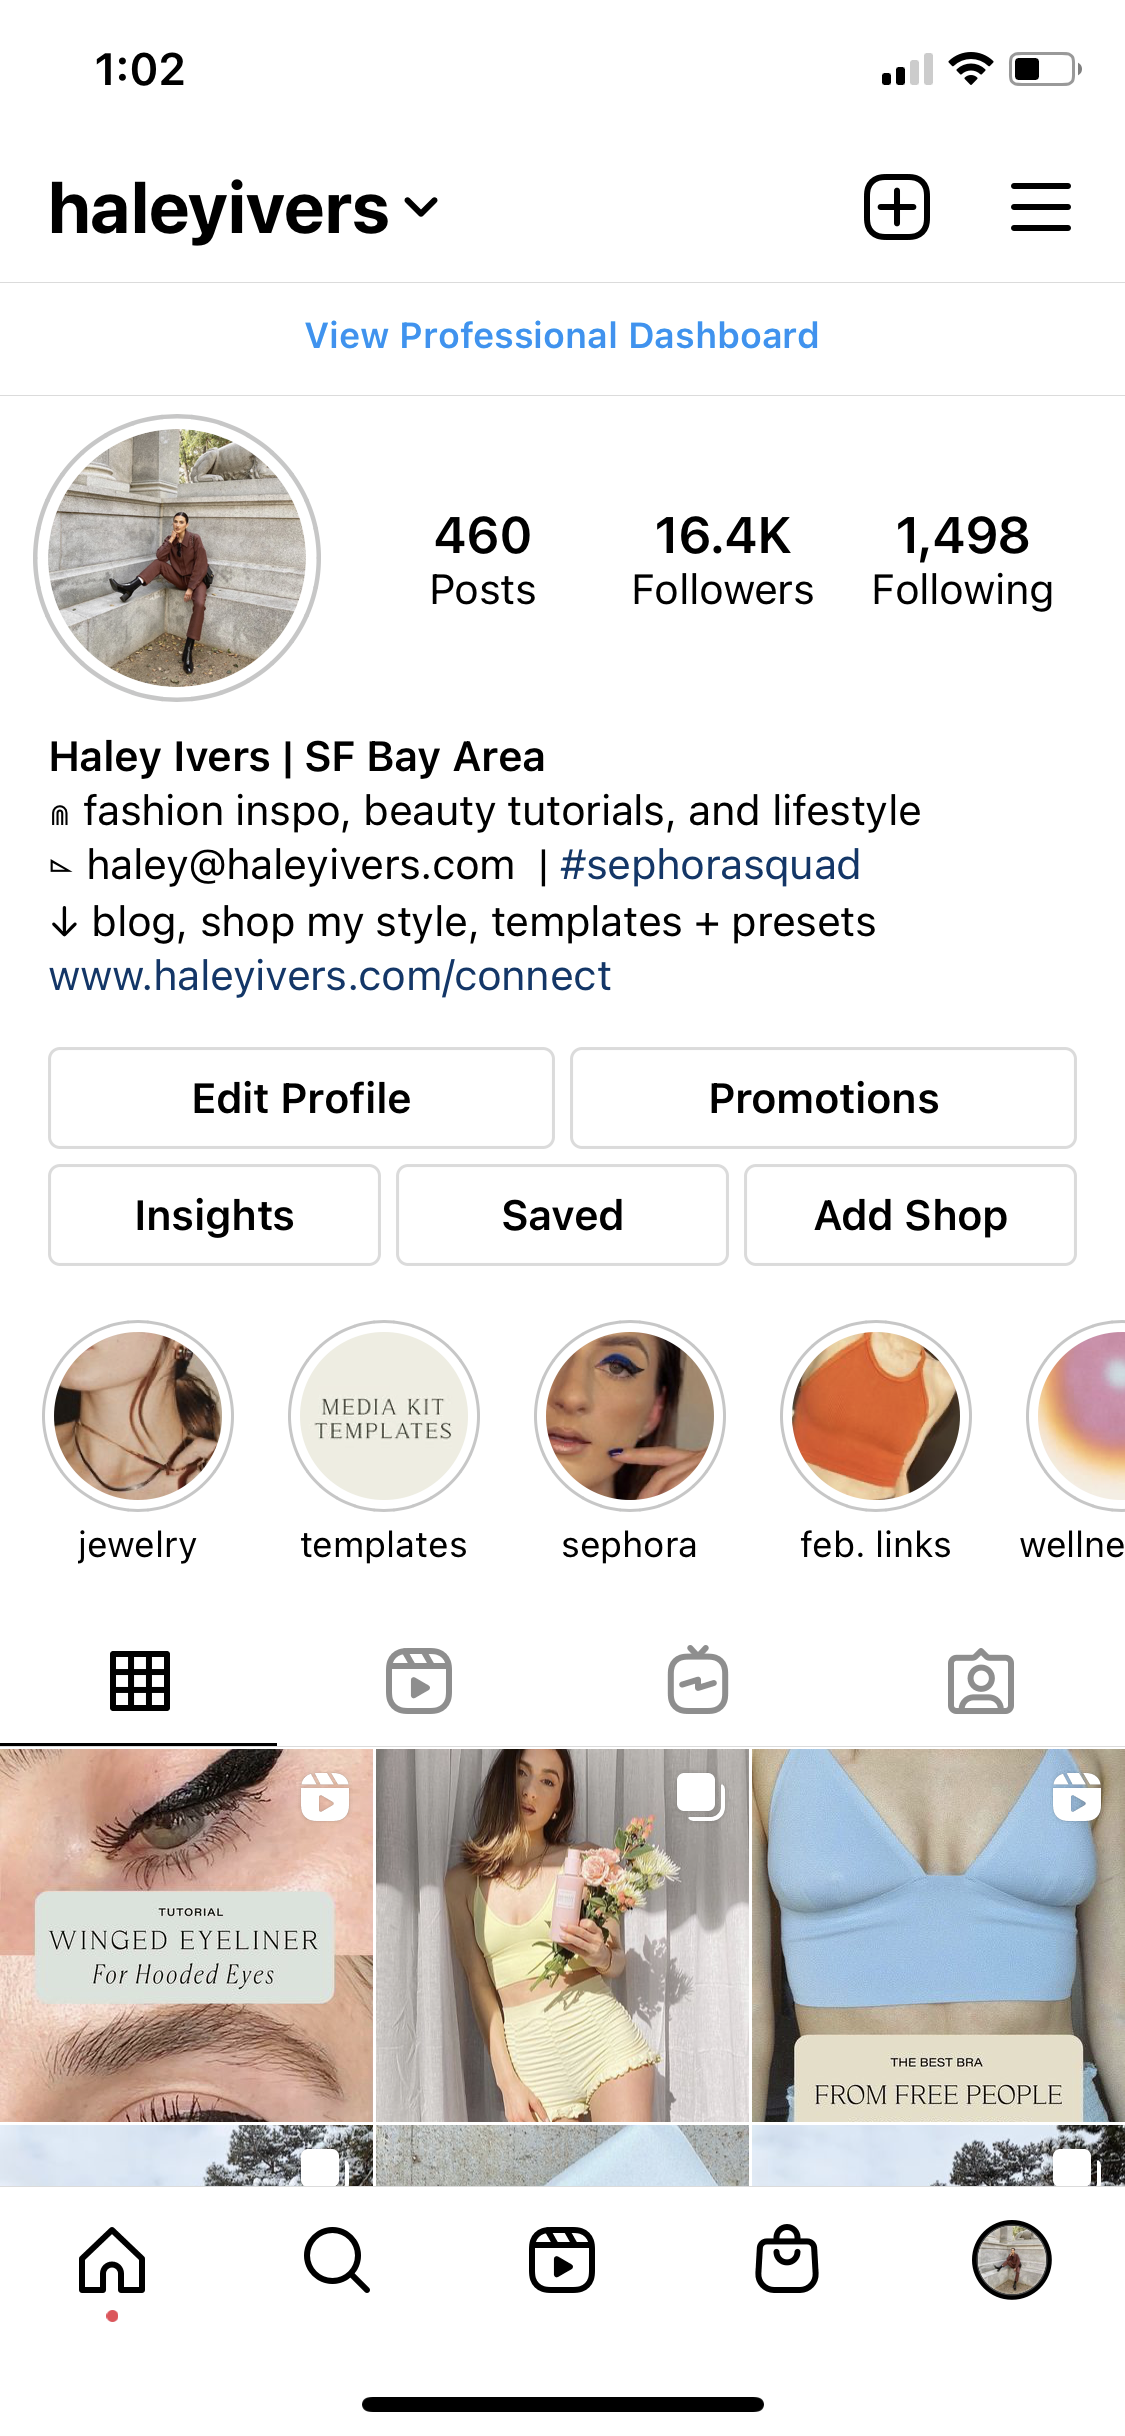
This may seem obvious, but use the same handle across all your social media platforms. In this day and age, you are your personal brand. So my advice is to keep it simple and stick with your first and last name as your Pinterest username.
In the past, I think it was super clever to use your blog name as your handle across your social media platforms. And, I think it still works if you are completely established and have a large following today. However, if you’re a small influencer or just starting out, get straight to the point by using your name.
This will also help you be more discoverable. Not only can your audience, potential followers, and brands easily identify and contact you, but your platforms will be more discoverable in search engines like Google and Pinterest when people look your name up.
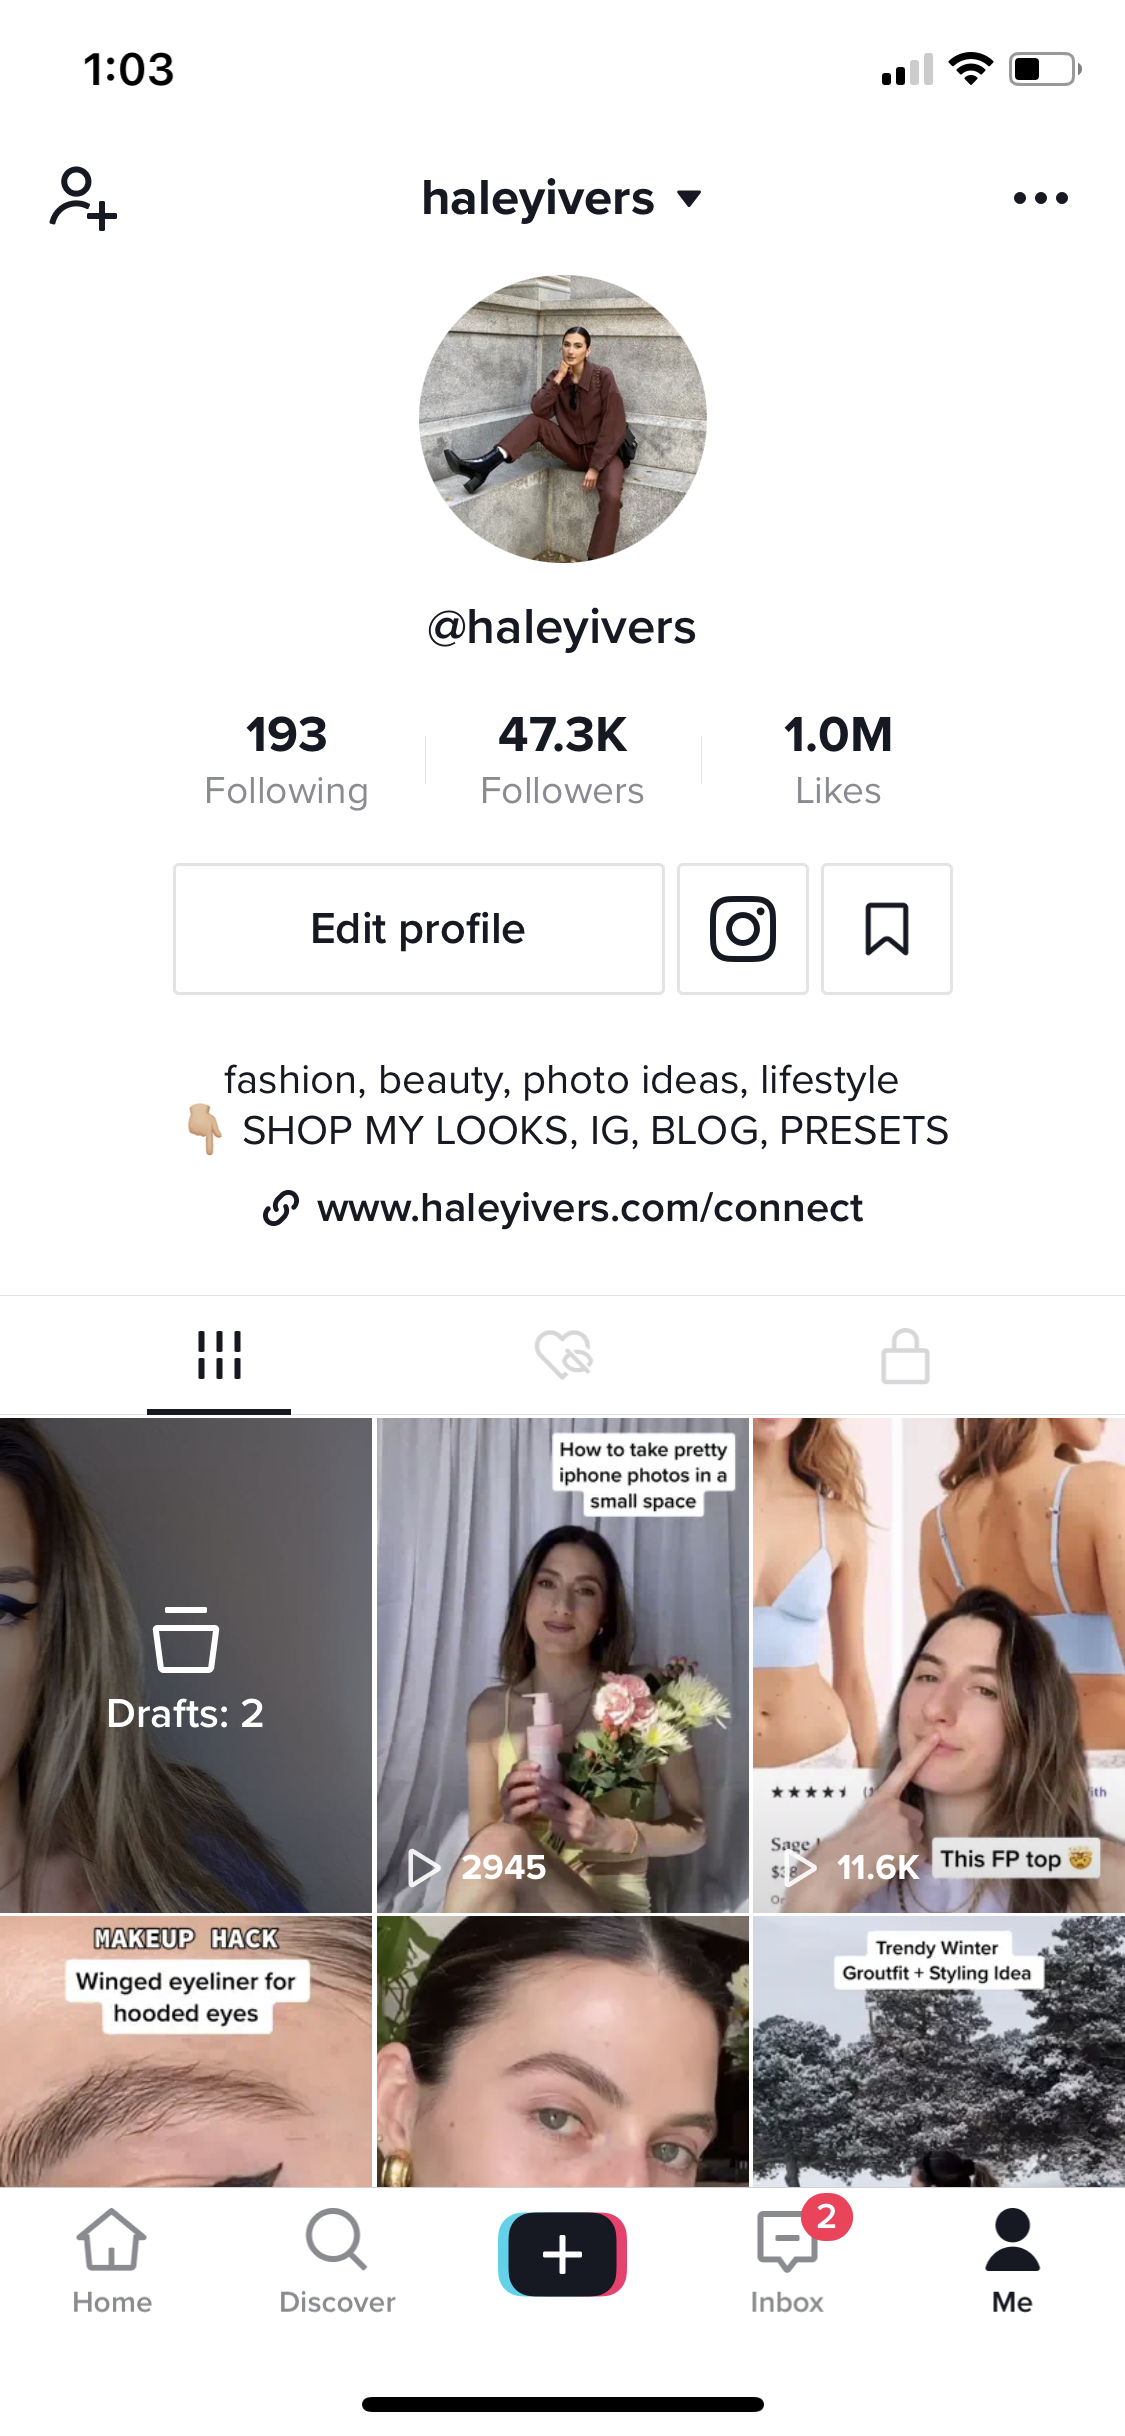
For example, I am very clearly Haley Ivers across all my platforms. You don’t have to guess my name, my handles, or my website.
Switch from a personal account to a business account.
If you don’t already have a business account, make the switch.
Go to the top right corner and hit the down arrow. Go to Settings > Account Settings > scroll to the bottom of the page to “Account Changes”. Then, click “Get started” next to “Convert to business account.” Click “Switch to business” at the bottom of the table.
Having a Pinterest business account will allow you to see your analytics, establish your personal brand authority, drive traffic to your website and across platforms, help you be more discoverable, and allow you to promote your Pins.
Claim your website (and other platforms)
Next, claim your website. This can be done in your Settings > Claim > Claim website.
By claiming your website, Pinterest can pull analytics from Pins you or others have pinned from your website. Your profile photo and a follow button will appear on any Pins that came from your website, too. Lastly, Pinterest will give you a fancy “claimed” icon next to your website in your bio. This will also establish your personal brand authority. Like yup, you are a legit influencer, you have a website, and you deserve a follow. ;)
If you’re an influencer and you don’t have a website, you can just skip this step! However, I firmly believe in the importance of having a website/blog, especially if you’re utilizing Pinterest in your social media strategy for maximum reach and discovery.
And lastly, in this same Settings area, connect the rest of the platforms available if you have them. The remaining options are for Instagram, Etsy, Youtube, and Shopify.
How to optimize your Pinterest profile
Use your title and/or keywords in your display name
Your display name can be up to 65 characters so be sure to utilize all that space (and opportunity.) Aside from your first and last name, considering writing your title or keywords that describe you and the content on your Pinterest.
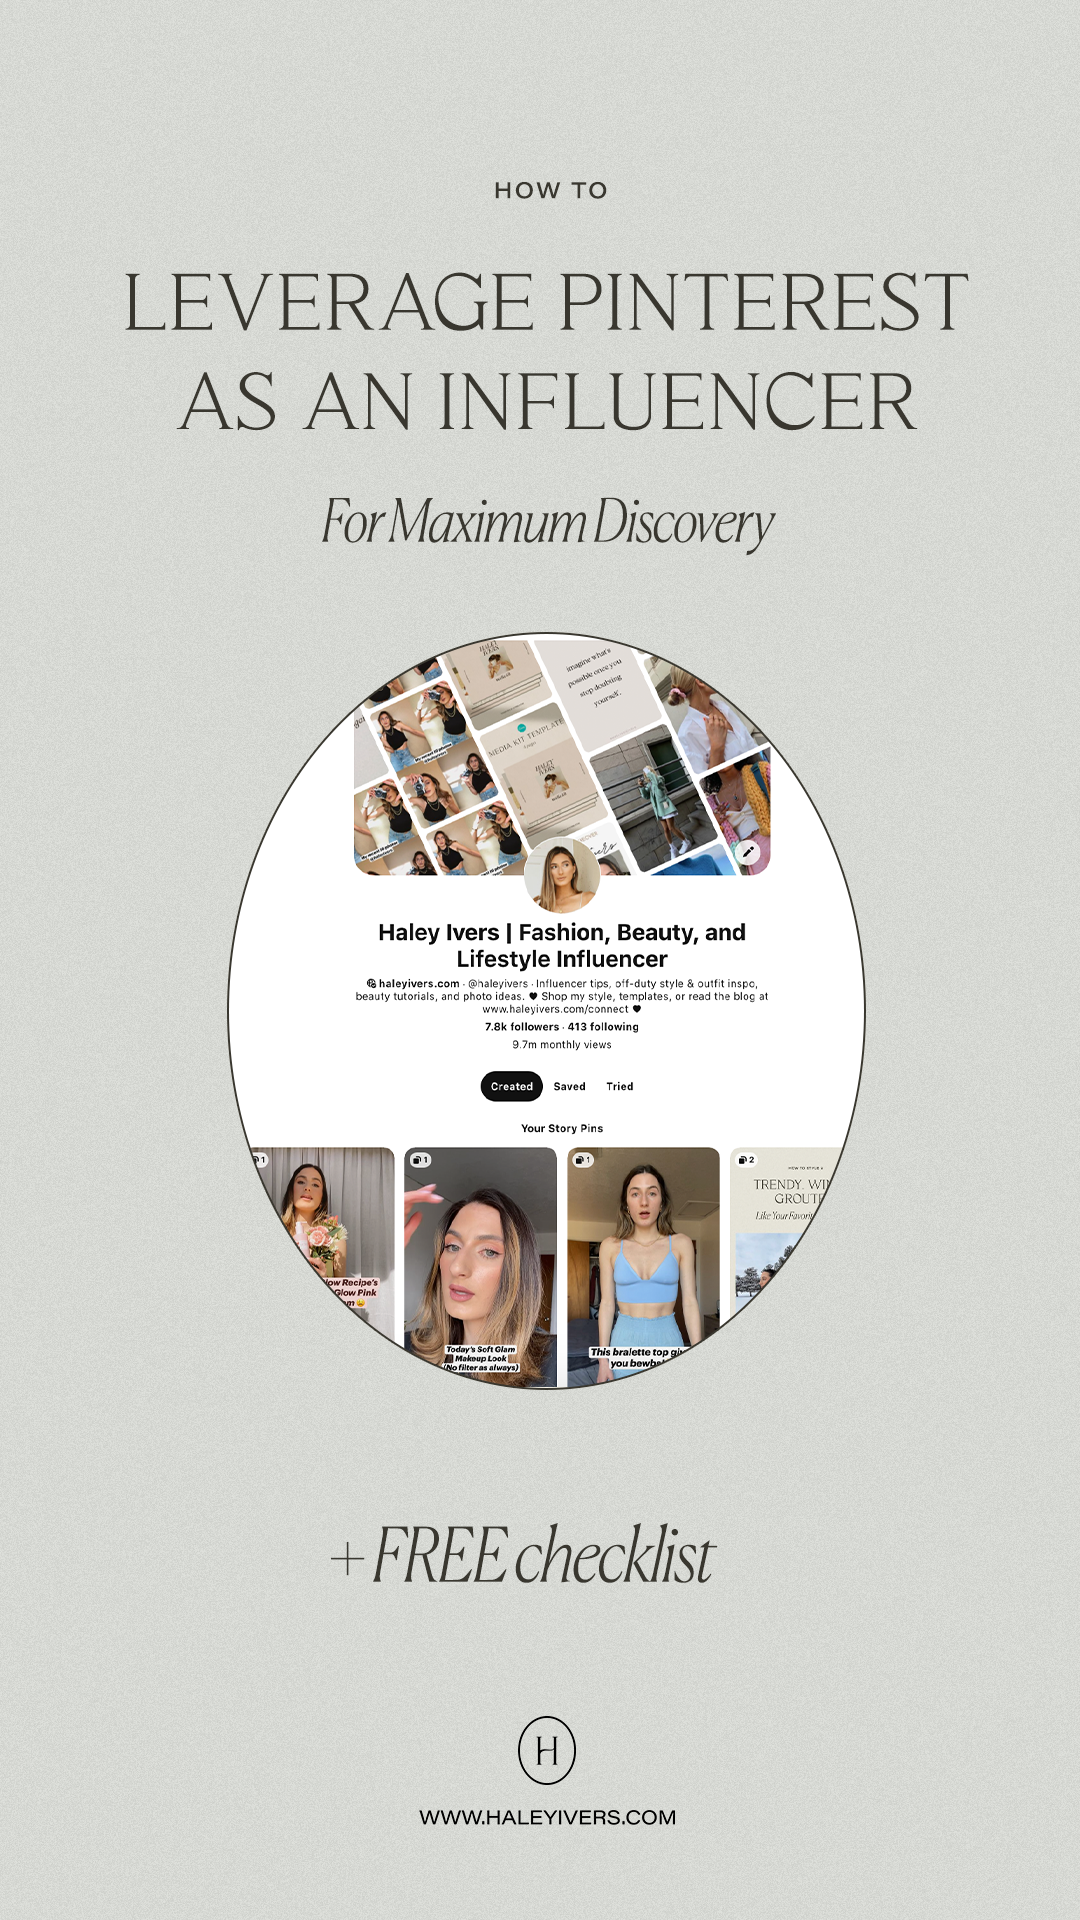
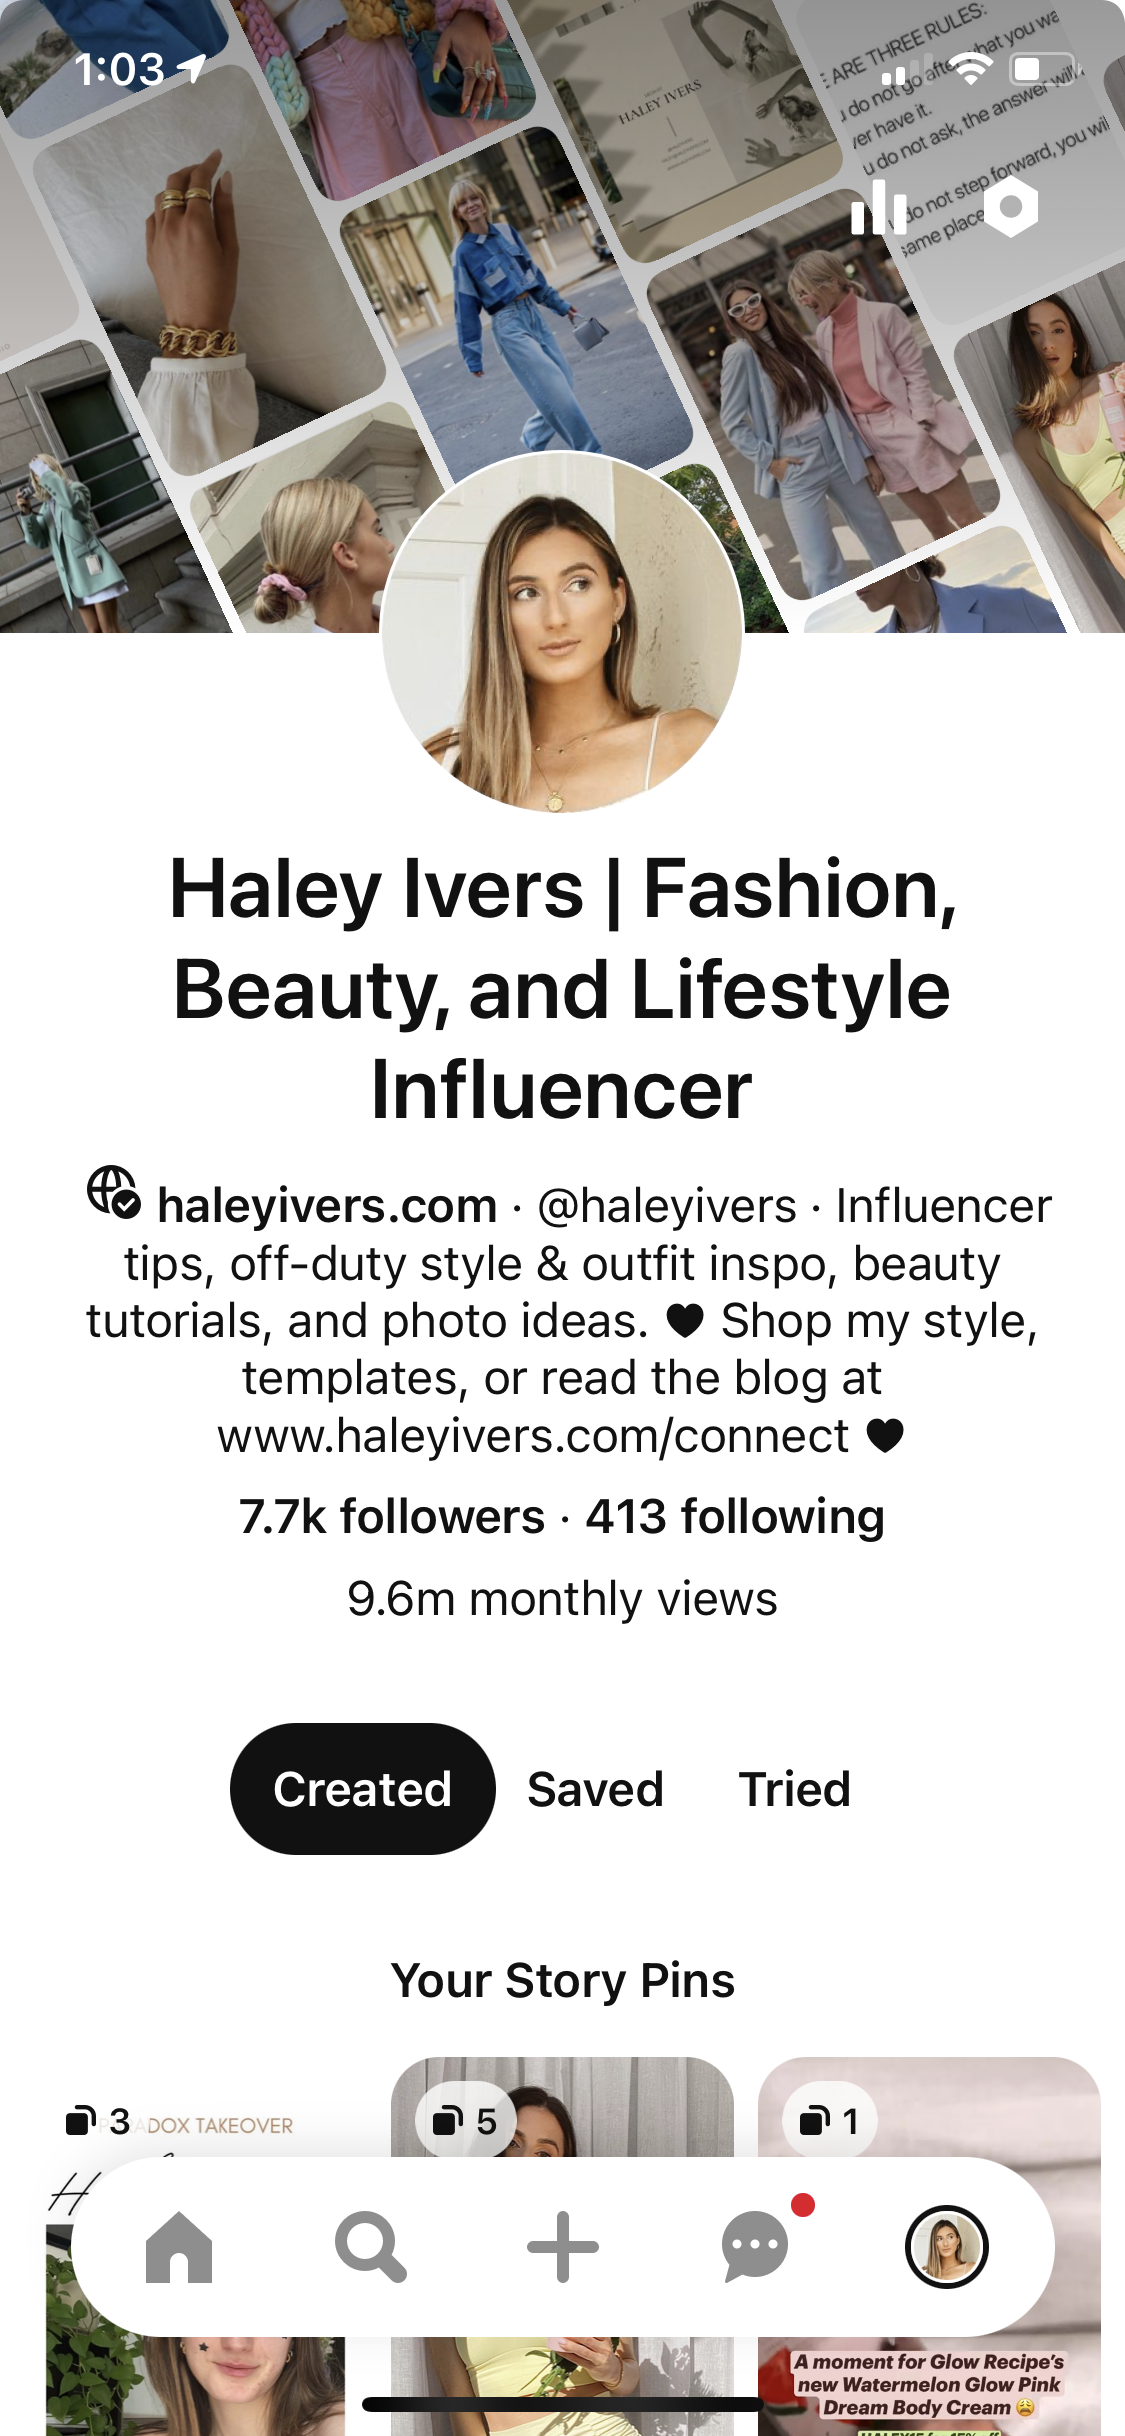
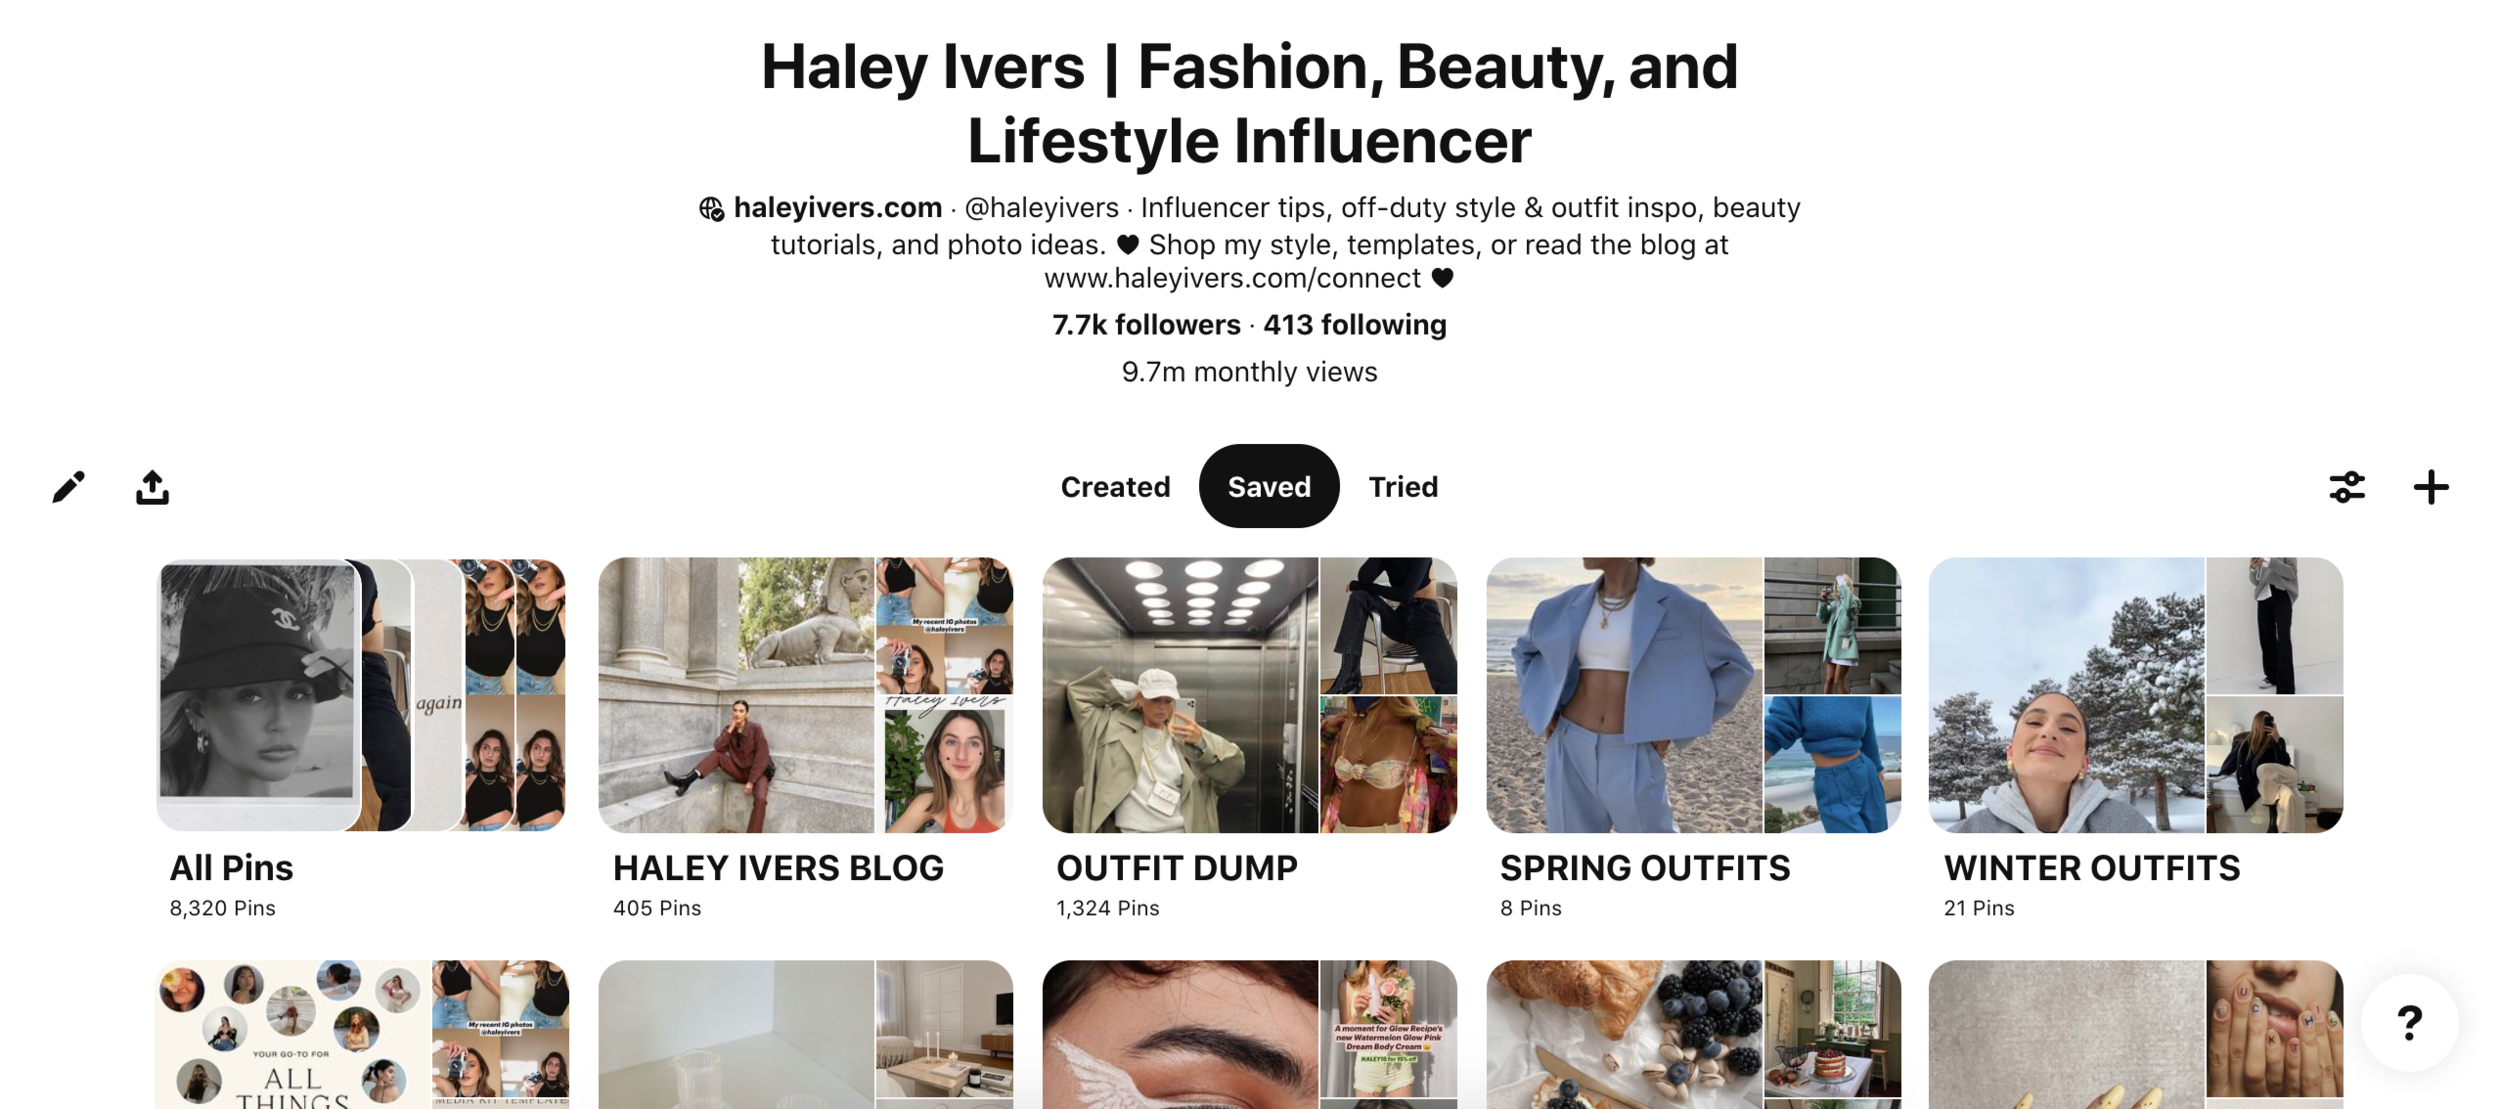
For example, this is my current one: Haley Ivers | Fashion, Beauty, and Lifestyle Influencer
It’s definitely tricky to make your title concise when you’re a jack of all trades and have a lot of interests. In this case, I’d stick to your title and use keywords where you can. However, if you have more of a focus with your content, aim for just keywords.
For example: Haley Ivers | Influencer Tips + Media Kit Templates
This way, your audience knows off the bat what your focus and expertise is and this makes you more discoverable if users were to look up “influencer tips” or “media kit templates.”
Utilize your profile description with strategic keywords
Edit your profile description by going to Settings > Edit Profile > “About your profile.”
Use strategic keywords in your description to let users know what to expect from you. What I mean by this is: think about what you type in the Pinterest search engine or what users might be looking for on Pinterest. Use those kinds of keywords in your description to describe your profile and your Pins.
So instead of writing All the things that inspire me :) or *gasp* you don’t write anything in your description, take a moment to reflect on what value you are bringing to your audience.
For example: Your gal for casual, everyday outfit inspo, natural beauty looks, and posing ideas.
It’s a shift from using your platform just for yourself to using your platform for others. And these keywords will help users discover you when they type them into the search engine.
Add a call to action in your profile description
Ideally, you always want a user to do something when they visit your profile besides just scroll through it. So, add a CTA to your profile description to encourage a user to make a move.
Examples of this could be a general CTA to read your blog or you could mention your specific, recent blog post. It could be a general CTA to sign up for your newsletter or you could mention your recent specific opt-in. You could also encourage a user to follow you on Instagram or to shop your looks on LIKEtoKNOW.it.
Whatever your CTA is, make sure it’s hard to resist.
Create a “You” specific board and make it the first board
If you look on my Pinterest profile, you’ll see that the first board aside from the “All Pins” is “Haley Ivers Blog”. This is where I post all my organic Pinterest content and my blog content. This is also the first board a user sees when they land on my profile.
So, make a “you” specific board as well! Plus, having this kind of board makes it easy for a user to find your original content and Pin it.
Have at least 25 boards that relate to your personal brand
This may sound like a lot, but trust me, it’s a lot easier than you think. So, prep your entire profile by having a shit ton of boards that relate to your personal brand. Think broadly and niche in terms of your boards. This way, a user can immediately get a sense of what you’re all about, similar to when a user comes across your Instagram feed.
Right, like, you probably wouldn’t follow someone on Instagram if they had like 7 photos. So similarly, users won’t follow a Pinner if their profile isn’t very substantial and doesn’t give them value.
So, think about all the things you post on Instagram and TikTok and create boards surrounding those topics.
Set all your boards Covers to reflect your aesthetic
Because Pinterest is a visual search engine, take some time to intentionally select your board covers. Ideally, your board covers should represent your aesthetic. Like, if someone saw your Pinterest and your Instagram, they’d totally be able to tell those are *your* platforms.
You can use your own images as your covers, or you can use a mix of your own photos, graphics, and other people’s photos. I do a mix because my boards also represent mood boards.
Write keyword-rich descriptions for each board
For each board, write a keyword-rich description. This is the same concept I advised for your profile description. So, as a reminder, using keywords in your descriptions help people discover your board when they search the Pinterest search engine. This also helps users know what your board is all about, of course.
Best practices when uploading Pins for maximum discovery
Upload your InstaGram content directly in Pinterest
You can totally post your Instagram content straight from Instagram, but there are limitations to this which is why I encourage you to upload your IG content directly in Pinterest.
For starters, you can add a title to your Pin instead of having Pinterest do that thing where it puts your handle and the number of IG followers you have and whatever as your title. Plus, you get to add those spicy keywords and your IG handle in the title for maximum discovery.
Not only that though, but you can also add a description and alt text to your Pin to further make it discoverable (and accessible.)
Lastly, you get to add a destination link to the Pin which will be the URL of your Instagram post so when people click on it, it goes directly to that post on your Instagram.
Upload your video content or carousels with Idea Pins
If you have the option, post your content with Pinterest’s Idea Pins. This is a new feature they are rolling out and the reach on these have been insane.
*Update - December 2021: Pinterest has since updated Story Pins to Idea Pins.
When uploading your TikTok content, upload it without the watermark. You could leave the watermark on but my prediction, just like what Instagram is prioritizing now, is that Pinterest wants organic content posted on their platform and they favor it. Plus, it makes sense that Pinterest would prioritize content made on and for their platform versus content reposted onto their platform with another platform’s watermark. Pinterest wants to be Pinterest, not TikTok.
*Update - December 2021: Guess who was right? Hehe. Pinterest prioritizes content made for Pinterest! Be absolutely sure, if you are repurposing content, to not have a watermark on it from a different social media platform.
There are a few ways to do this. The first way is to edit your TikTok content in a video editing app prior to posting on TikTok. My favorite iPhone app to do this is called Splice.
Or, you can save your current TikTok video and crop out the watermark. Let me teach you how to do this real quick.
Go to your TikTok and save it as a Live Photo. Then, in your Photos, hit the share button in the lower-left corner, scroll down, and hit “Save as Video”. Lastly, crop the watermark at the bottom out of the screen.
Make Pin-worthy graphics on your blog posts
If you have a blog, make sure that every blog post has a graphic made specifically so you and others can pin it to Pinterest. And, make sure the Pin is Pinterest-worthy!
For your graphics, make them on-brand by using your personal brand fonts, colors, logo, etc. Also, be sure they are mobile-friendly! After you’re done making them, look at them on your phone to see if the text is readable and big enough.
If you don’t feel confident using Photoshop to design your Pinterest graphics or you just don’t have it, an outstanding alternative is Canva, a free design software you can use instead!
Congrats! You now know how to optimize your Pinterest profile as an influencer to expand your reach and provide more personal brand awareness. While this was a quick overview, I hope this helped you feel confident as you begin to use Pinterest in your social media strategy.
Two last things before we part ways until next time.
1) Leave your Pinterest URL in the comments below!
I want to give you a chance to promote your Pinterest account and connect with other readers on this page. And, I want to check your page out too!
2) Would you like me to continue this Pinterest series?
Leave a comment down below if you’d like me to continue with Pinterest tips. Or, leave a request below!

